Easy DIY Poster Frames
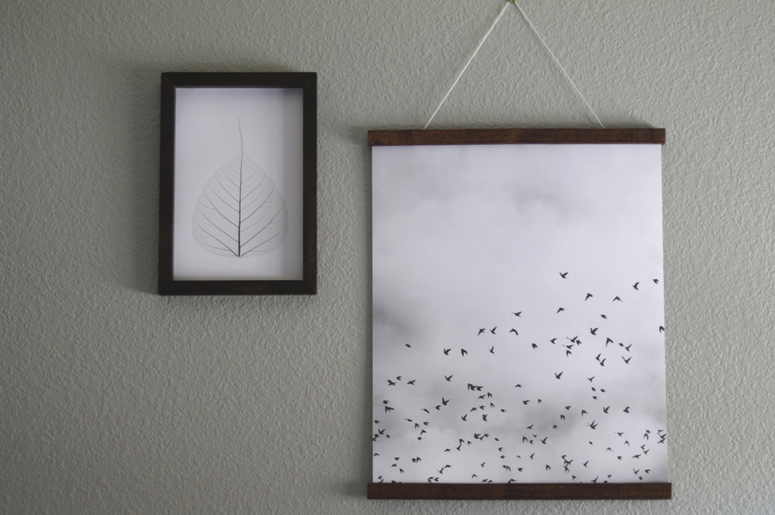
A few weeks ago, I realized we still didn't have anything on our walls. While I am really in love with our paint color, I was tired of the constant echo and lack of visual stimulation. I decided something needed to be done. We had guests coming to visit, and I didn't want them staring at blank walls! We had several prints that needed to be hung, but none were framed... and uhm, hi - frames are expensive. I brainstormed (ok, and googled), and then I decided to just DIY some poster frames!At first, I found this awesome looking poster frame DIY on Young House Love. I thought they looked amazing, so we used those plans and made two frames for our largest prints. They turned out really well, but we had several smaller prints, and didn't want the bulk of a huge frame, so we improvised and came up with our own DIY poster frame.
DIY Poster Frame
Supplies
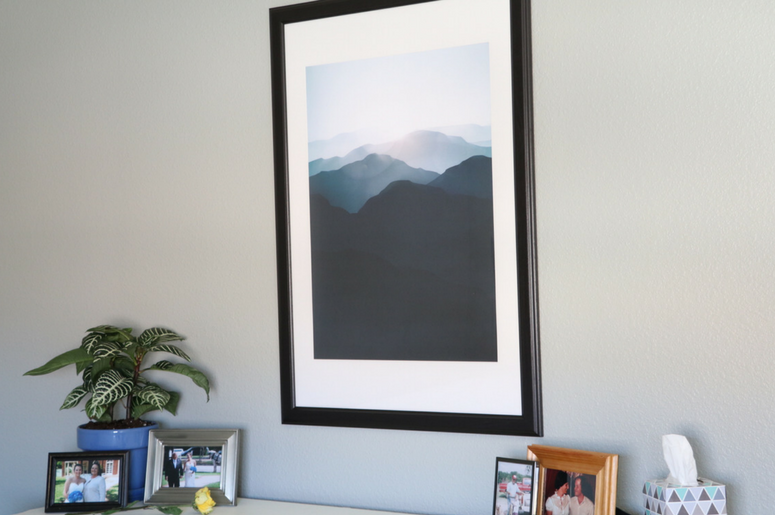
1" Square Hardwood Dowel - number and length depends on size of poster to be framedWood Glue (we used this one) 4 clamps Picture Hanger (here's a great little kit with hardware)Wood Stain of your choicePaint brush (for stain) Staple GunTape MeasureSand PaperArtDesenio graciously sent us several prints. One of my favorites is the Bird Sky Poster. I paired it with the Botanical Skeleton Leaf Print and the two together really remind me of my mom. The leaf print frame is the one that I'm outlining in this tutorial.  In the same room, we've hung the Mountain Landscape Print and it's perfect for the view outside the window.
SPECIAL OFFER MARCH 14-16, 2017: Use code makingmrsm25 for 25% off your order.
Instructions
Cut the wood
First, you need to cut your wood. We didn't want to use nails or screws for this project because we wanted a seamless finish. Before you cut, though, you need to measure. My dad always said, "measure twice, cut once."The measurement of your frames will be different than mine, depending on the size of your prints. You want the print to overlap about half of the dowel on all four sides so that you can secure the print to the frame. For example, with a 1" frame (from the 1" dowel called for in the supplies list), your frame will need to be roughly 1" longer on each dimension (length and width). For example, if you want to frame something that's 8x10, your frame should be 9x11. This will allow 1/2" overlap on each side to allow room for stapling. The cuts should be made at a 45 degree angle so that the angles on each end are not parallel to each other. The top edge should be longer than the bottom edge for every board.  The length of the long edge should be the dimension of the frame you want. For example, in the 8x10 print scenario: You will have 2 boards cut 9 inches long, and 2 boards cut 11 inches long. You measure this length by measuring the long edge. The short edge of the board will be slightly shorter depending on the width of the dowel.
Glue
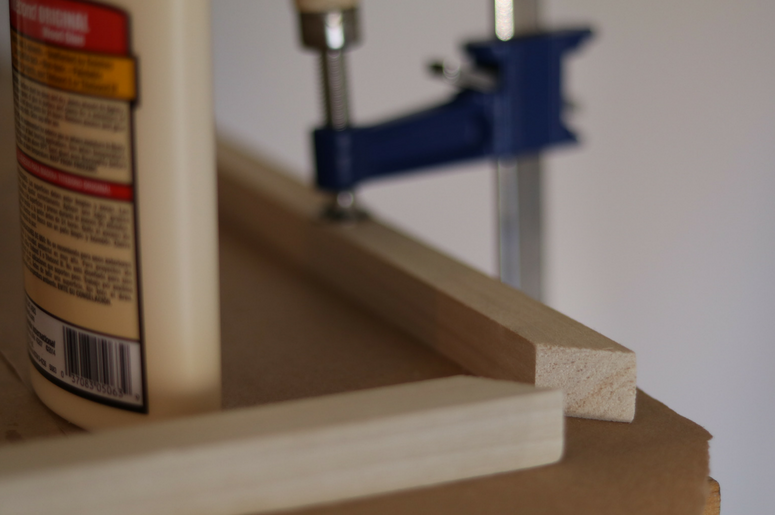
Now you're going to glue the pieces together. I'm having flashbacks to 10th grade geometry. Since you cut each piece at a 45 degree angle, they will come together to form a 90 degree corner. Yay math. You will need to place a little bit of glue on the end of one piece and clamp it down. Then, place the adjacent piece appropriately, and clamp it into place. Leave the pieces clamped until the glue is dry. If you're using the glue I suggested, this will take about an hour. Continue clamping and gluing until you have a frame!  Once all the glue is dry, sand until your edges are smooth and seamless.
Stain
Next, wipe off any dust from the frames and follow the directions on your stain. Stain all surfaces! Allow the frames to sit overnight.
Add prints to frames
Now's where the fun begins. You're going to add your prints to the frames. Make sure the prints are centered on the back of the frame, and then staple the print to the frame. 
Add hardware
Finally, you're going to add the hardware to hang the poster frames. You can choose whichever you prefer. We chose to put two circular hangers on each side of the frame so that it hangs evenly. Be sure the measure so it will hang appropriately!
These poster frames were so easy to make and we had a lot of fun. Call me crazy, but I think I like our DIY frames more than if we would have bought them. There's something about making something for your house that automatically makes you love it more... or is it just me? Super special thanks to Desenio for sending us some gorgeous prints. Our entrance gallery wall is really coming together. I cannot wait to show it. I'm really excited that we finally have art on our walls! These DIY poster frames were an affordable and unique solution to our problem and I love the finished look so much!
THE BEST OUTDOOR SPRING DIY
Pin It

This post was not sponsored, though I did receive items for free.