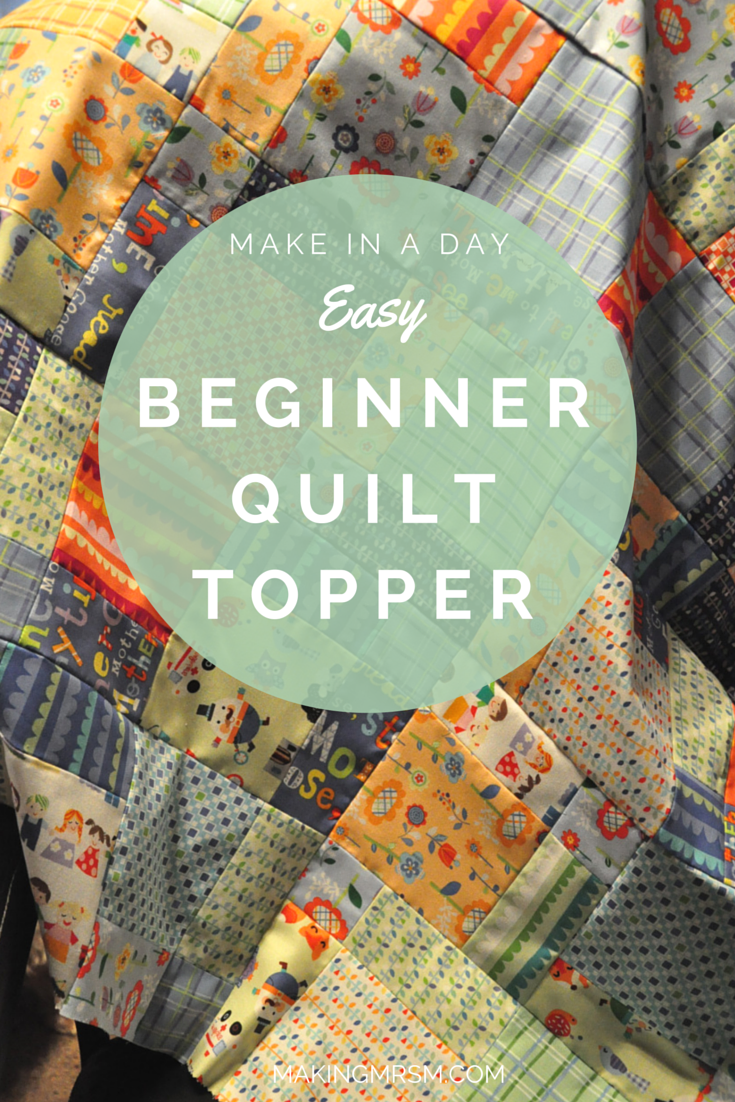
Make-In-A-Day Quilt Topper for Beginners
Is there a way to make a quilt when you're new to sewing? Absolutely! I'm new to this whole "sewing" gig, but I've already completed two quilts. You really don't need to be a seasoned seamstress to do it! all you need is the patience and resources. I've spoken to many people recently who expressed a desire to learn how to quilt. There's no reason you should let that desire go unfulfilled. Follow these steps and you'll have a ready made quilt topper in an afternoon, guaranteed.  The quantities I'm showing today will make a great crib sized baby quilt! Double them and you've got a great throw sized quilt for the couch.
Supplies for Full Quilt
- Two 5"x5" charm packs (should have 41+ pieces per charm pack -- 81 squares will be used for this quilt)
- Matching Color Thread
- Quilt Batting (like this one!)
- Fabric for backing
- Sewing Machine
- Scissors
- Pins
- Large safety pins
For this post, I'll be describing how to make a quilt topper, so you will only need the charm packs and thread. I'll explain how to quilt and how to bind in another post, soon. So stay tuned! All in all, I think I spent around $5o for this quilt, but if I would have searched for deals, I know I could have cut costs.
Quilt Topper
The quilt topper is the most important part of a quilt. It's the bread and butter, so to speak. You can spend all the time in the world actually quilting and if you don't have a beautiful topper, all is in vain. There are hundreds of patterns for quilt toppers available for free and for purchase. I've stared at these for hours in confusion. The one I'm showing you today will be easy to follow and the finished product will yield an amazing result.
Sewing Squares Into Strips
First, you need to separate your charm pack squares. Usually there will be about 8-12 different patterns in a charm pack. Separate them by pattern. Then mix and match into groups of 3, however you wish. I try not to use the same patterns together to add variation. Next, you want to sew the squares into strips of 3 (by groups you put them in earlier). I made my seam allowance really small for these because I don't want to lose a lot of fabric in the seams!  Once all of your strips are sewn, press all of the seams.
Sewing Strips into Squares
Now you need to mix and match your strips, like you did your charm pack squares! Put three of your finished strips into each group. You will have 9 "groups" of strips in the end. Sew the three strips together, forming a square. Press all of your seams!... The seam pressing is the WORST part of the quilting process for me.
Creating Quilt Pattern
Now for the part that will make the MOST difference! This is my favorite part of the quilt topper process because I feel like the overall look of the quilt really comes together. I also love that this is pretty much the only cutting involved since charm packs are used. Cutting fabric is always the most stressful part for me. Take one of your squares from the previous step (the square you made by sewing the 3 strips together). Cut it as a big plus. Halfway horizontally and half way vertically, so you will be left with 4 equal parts. Turn them and piece them back together however you wish. Sew 2 pieces together, and then the other 2 pieces together. Press seams. then sew each of those pieces together to reform a square. You'll notice the pattern you're left with is MUCH more interesting than 9 equal 5"x5" squares!  Do the same to all of the rest!
Piecing Quilt Topper Together
And the final part of the quilt topper process is to sew all of the completed squares together. I start by sewing 3 big squares together into a strip. Then I do three more into a different strip, and then the last three into a third strip. Then I sew all 3 of the large strips together to form the finished quilt topper. Don't forget to press those seams! The good news is... THE QUILT TOPPER IS FINISHED! Marvel at all of your hard work! Be on the look out for posts to finish your quilt! Coming soon!
Have you ever wanted to learn how to quilt? Do you sew? What's your favorite project to do?